A well-working dryer vent hose is essential not only to the safety of the dryer but also to its efficiency. This guide will help you know how to uninstall, deinstall, and reinstall your dryer vent hose.
About Your Dryer Vent Hose
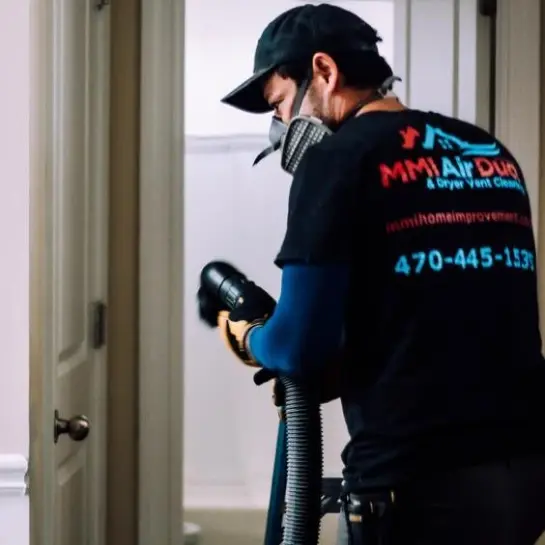
Trust MMI Home Improvement Pro for your vent cleaning. If you are in Roswell, look no further than MMI’s experts for Dryer Vent Cleaning Services in Roswell.
Reasons for Properly Working Dryer Vent Hose
A cleaner dryer hose is beneficial in several ways. First, it plays a role in minimizing fire risks. Dirt and other debris can accumulate within the hose, causing it to burn from the heat of the dryer. This risk is reduced considerably by having regular maintenance. Also, a dirty vent hose affects the efficiency of your dryer, raises energy bills, and shortens the lifespan of the dryer. Last but not least, ventilation helps to avoid the formation of moisture in the house, which may lead to mold formation and decompose of structures in the house.
Things Required in Replacement of Dryer Vent Hose
When starting with the replacement process, one should collect all the required tools and materials. In this case, you will require a new dryer hose, a measuring tape, a utility knife, duct clamps and a screwdriver. Safety gear is also important; gloves and safety glasses will be helpful while installing the product. Also, it is important to have a vacuum cleaner or a cleaning brush nearby to clean the lint and debris from the vent area. Such preparations make the replacement process smooth and safe.
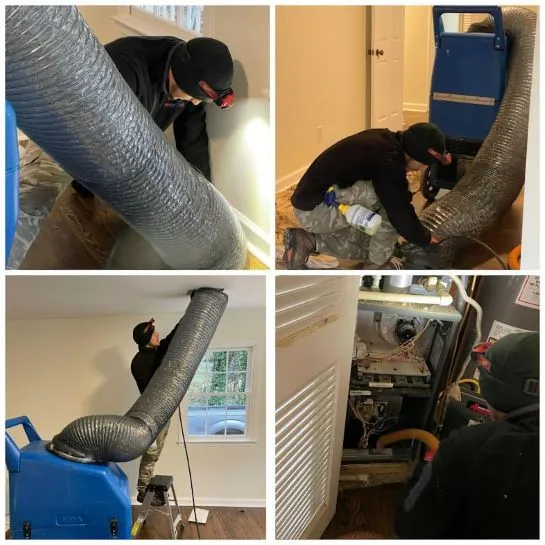
Detailed Procedure for the Disconnection of the Old Dryer Vent Hose
Preparing your workspace for dryer hose replacement
A proper working environment is the key to a successful replacement, as it must be safe and efficient. First, turn off the dryer and slide it out from the wall. This, in turn, creates enough space that one can work comfortably. Lay another piece of Newspaper or an old sheet on the floor to cover the area where you are working to minimize the cleaning work you will do later. Make sure that the place has enough light and that the tools are accessible and easily visible.
Removing the connection of the vent hose from the dryer and the wall
Firstly, to remove the vent hose, start at the drier side. With a screwdriver, you will have to unscrew the clamp that holds the hose to the dryer. Twist the hose clockwise while pulling it away from the unit. After that, proceed to the wall vent. Once more, unscrew the clamp and slide the hose off slowly without applying much pressure on it. If the hose is stuck, then with the help of a utility knife, you should cut the tape or the paste. If you face any difficulty, look for other connections or clips that may be used to hold the two items together.
Cleaning up the vent area after the removal of the dryer hose
It is wise to clean the vent area after removing the old hose to have a proper working environment. It is advisable to use either a vacuum or a brush to remove any lint that may be present. Be careful with the position of the vent opening on the wall and the exhaust port on the dryer. Check these regions for signs of wear or obstruction affecting air circulation. Cleaning the vent area helps to make sure the new hose will work effectively and without any risk. If you find significant damage or blockages, address these issues before installing.
Replacing the New Dryer Vent Hose
Measuring and Cutting the New Dryer Vent Hose
It is essential to measure correctly to get the right size of products. To measure the length between the dryer exhaust port and the wall vent, you should use measuring tape. Give a little more space to accommodate some movement. Take these measurements to the new hose, and using a utility knife, cut the hose to the desired size. The hose should not be too long or too short, as this will enhance its performance.
Connecting the Dryer Vent Hose to the Dryer and Wall
Begin by connecting the hose to the exhaust port of the dryer. Use a duct clamp to fasten it and tighten it with a screwdriver. Make sure that the connection is tight so that there will be no leakage. Then, connect the other end of the hose to the wall vent and fix it in its place with a clamp. This is done to make sure that both connections are correctly connected and are tight. The correct attachment makes sure there are no gaps where air can escape and keeps the flow of air constant. It is always possible to cover the joints with foil tape tightly if necessary.
By following this guide, you make sure that your dryer hose is installed correctly and is working to improve the safety and efficiency of your dryer.