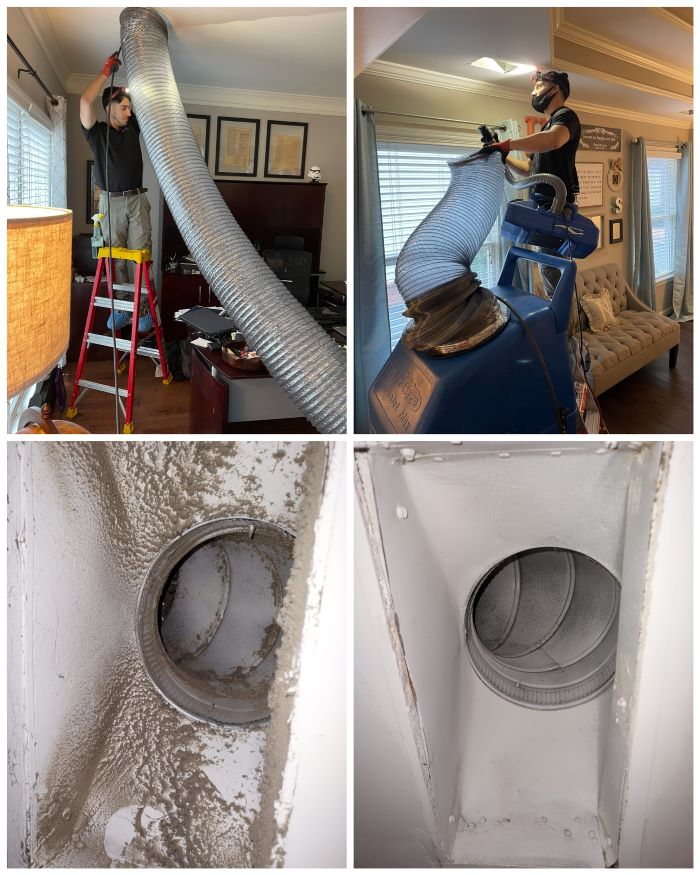
In the present modern-day, ducts are installed in every home and commercial building. These ducts serve as outlets or passageways for ventilation, HVAC and heating systems. Ducts provide fresh air and remove the dirty air from a building. Floor duct vents are primarily installed in buildings to regulate the flow and quality of the air.
In addition to this, Air ducts are one of the effective ways to ensure the air quality in an indoor environment. Secondly, These ducts also maintain the temperature of the air. Therefore, one can install these air ducts for thermal comfort as well.
Benefits Of The Ducted System:
1. Less Expensive:
Ducted systems reduce the usage of energy. Consequently, it also reduces expenses. Since the ducted system has connections with each and every corner of the building or a house, everyone is facilitated equally. Above all, the burden on the central unit is also reduced. Additionally, the ducted system runs at its best performance.
2. More Comfortable:
Since the ducted system is evenly installed throughout the building, everyone shares uniform thermal comfort. Moreover, airflow is also evenly distributed.
3. More Healthy And Robust:
As we know, ducted systems regulate airflow, so people with allergies, asthma and other lung problems live healthy lifestyles. For instance, various studies have shown a reduction in breathing problems in people who live in homes with ducted networks. Secondly, ducted systems readily perform air exchange, so the air quality is very optimum.

In conclusion, a Ducted network has several benefits. Firstly, they improve our lifestyle. Secondly, they are less pricey. If you want to install a ducted system in your home or any building, you can contact us for dryer vent installation and repair in Roswell. They have the best services in the town.
What Are Floor Duct Vents:
Floor ducts are a part of the entire duct network. They are the last part of a duct network in a room. Most importantly, the sole purpose of floor ducts is to provide ventilation in a room. These ducts are generally rectangular. There are other floor ducts, but they are not used frequently.
These ducts are installed on the subfloor. Sheet metal screws are used in the fitting of these ducts.
DIY Method To Install a Floor Duct Network In Your Home - 12 Easy Steps
Step no. 1:
Firstly, you need to cut a rectangular slot on the floor to allow the air to flow. You need to find the correct location in the room.
Step no. 2:
Secondly, after drilling the hole, spread the proposed arrangement of your duct network. Afterwards, drill holes in the floor to adjust the jigsaw blade in it. After you have drilled the hole, pass your blade through them and cut the subfloor according to the layout.
Step no. 3:
Thirdly, you need to adjust yourself on the ground floor or subfloor in a way where the boot ends. Engage this boot to the end of the pipes of the duct network. Now, press the boot firmly against the ground floor.
Step no. 4:
After that, mark all the four edges of the boot with any coloured pen or pencil. After tracing the boot, please remove it.
Step no. 5:
Now take out your drill. Attach a 0.5 inch bit to the drill. Drill a hole in the center of the traced boot lining. Make sure to drill the hole through the ground floor.
Step no. 6:
Moving further, locate a place to drill the hole in the floor. Place your floor duct over that place. Make sure to install a flexible air duct. Now trace that air duct and remove it for ease.
Step no. 7:
Repeat step no. 5 with this floor as well. Drill the holes through the lines of the layout.
Step no. 8:
Now move the reciprocating saw or jigsaw blade through the hole. Firmly fit the backplate onto the floor. Now, start cutting along the traced air duct. Cut a rectangular hole according to the size of the traced air duct.
Step no. 9:
After that, move to the subfloor. Place the boot on the subfloor. Now curve each boot at a 90 degrees angle. It will help you in adjusting the boot evenly to the floor. Put the boot in the center.
Step no. 10:
Take out your drill. Attach a 0.25 bit to the drill. After that, use two sheet metal screws.
Fasten these screws to the ground floor through the tabs. It will hold the boot in its place.
Step no. 11:
After securing your boot or air duct, put some insulation or duct sealing material. It will prevent leakage in any mishap.
Step no. 12:
Lastly, go to the main floor when you have finished your work on the ground floor. Slither your baseplate of the register into the drilled hole. Push it down firmly until the register is completely attached to the bottom.
However, If your floor ducts have screws, tighten those screws to hold the floor duct. Typically, the register does the whole work. And there are no extra screws with floor ducts.
Conclusion:
To sum up, we can say that floor vents are handy:
- Firstly, They provide ease.
- Secondly, These ducts reduce the cost.
- Thirdly, They save energy. Therefore one should install floor duct vents in one’s building. They can save so much energy.
- Lastly, They give a neat and clean look to the building.
