A dryer vent, also called a dryer duct, is essential to the effective functioning of the dryer. In addition to being a fire threat, your dryer will not be able to dry the items effectively without it. Here you’ll read the method to replace a dryer vent hose inside a wall. Your dryer will run smoothly if you appropriately install a dryer vent, clean it on a regular basis, and resolve minor issues. The vent pipe is one of the most vital parts of a dryer, and if it is faulty, it can lead to lint buildup within the dryer. Lint is widely known as one of the primary causes of dryer fires. When the hose is defective, the dryer may not operate effectively, causing the clothes to take longer to dry and resulting in higher utility expenses.
Fortunately, changing the dryer vent pipe will eliminate the problem. Inside the wall, the exhaust pipe is formed of a solid metal that can sustain high air pressure. Solid metal has the benefit of fitting securely to the wall, leaving no space for air to leave.
If you need to change a dryer vent pipe within a wall, here are some step-by-step instructions to help you get started. Solid metal vents are generally preferred versus plastics and other sorts of metals since they are far safer. Flexible materials tend to accumulate more lint, restrict airflow, and necessitate more frequent air duct cleaning in Buford if you live nearby. Furthermore, flexible plastic vents are prone to crushing, obstructing circulation, and leading your dryer to overheat, perhaps resulting in lint fires.
Necessary Items to Replace a Dryer Vent Hose
The first step in every maintenance operation is to obtain the necessary supplies. To prevent frequent excursions to the shop during the process, you should have the appropriate equipment and materials on hand. Whether you’re a DIY enthusiast or an expert plumber, the equipment you have will determine the project’s success.
It is a simple and easy activity, particularly if you have all of the necessary materials on hand. You can also get dryer vent cleaning Buford service to leave this work to specialists.
Here is a checklist of the essential items you should have on hand to replace a dryer vent line inside a wall to make work easier.
- Dryer vent kit
- Vacuum cleaner
- Screwdriver
- Spanner
- Vent dent brush
- Plywood
- Aluminum foil duct tape
- Tin snips
- Caulk
Ensure that you have at least the supplies listed above when we begin. Take measurements of the duct hose and get a few inches longer to allow any modification. In a short space, the dryer’s exhaust system connects to the offset vent, which connects the duct to the wall.
Detailed Steps To Replace A Dryer Vent Hose
First and foremost, ensure your safety by turning off all electrical outlets. You should unplug the dryer and pull it away from the wall. You’ll have more area to work and easier access to the vent pipe this way. Now, we’ll move to the further steps in detail to see how we can simply replace a dryer vent hose inside a wall and then change it with the new one.
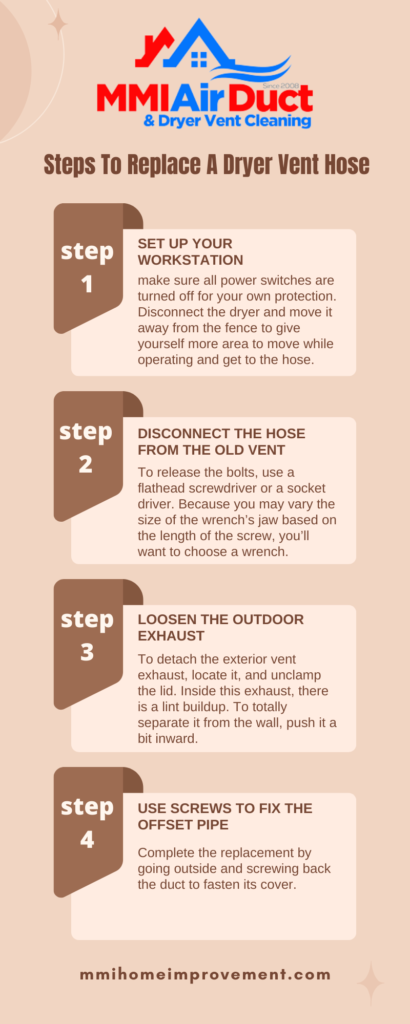
1: Set up your workstation.
After you’ve gathered the essential components, you may begin replacing the old vent hose. But first, make sure all power switches are turned off for your own protection. Disconnect the dryer and move it away from the fence to give yourself more area to move while operating and get to the hose.
2: Disconnect the hose from the old vent.
Disconnect the ring clamp holding the vent hose in place and separate the vent from the wall-mounted vent hose. To release the bolts, use a flathead screwdriver or a socket driver. Because you may vary the size of the wrench’s jaw based on the length of the screw, you’ll want to choose a wrench.
3: Loosen the outdoor exhaust.
Then, to detach the exterior vent exhaust, locate it and unclamp the lid. Inside this exhaust, there is a lint buildup. To totally separate it from the wall, push it a bit inward.
You already have a hole through the wall that needs cleaning after you’ve pulled the old vent hose. Before you start, properly clean that area with your vent brush to eliminate any dirt. Before installing the new vent pipe, use a stud or buffer to guarantee that the dryer vent remains firm after fitting.
Use screws to connect sheets of plywood to the wall to provide a buffer, so the vent doesn’t move an inch once you place it. After that, move the new vent duct into place and connect it to the exhaust outlet. To avoid mistakes during installation, check sure the new and old ducts are the same size.
Also, simply press the new duct into the wall and secure it with bolts. Utilize the metal snips to resize the vent if it protrudes from the wall.
4: Reattach the exhaust vent to the offset pipe.
Before reconnecting the exhaust duct to the offset pipe, properly clean it. Remove any lint buildup with the vacuum cleaner, then use a ring clamp to secure the exhaust duct to the tube. To avoid air or lint from leaking, make sure to fasten it tightly.
Use the below code to Embed this infographic
It would help if you used caulk or aluminum foil tape to cover any holes between the duct to seal air ducts and the concrete wall. You should avoid normal tapes since it dries fast.
5: Use screws to fix the offset pipe.
Complete the replacement by going outside and screwing back the duct to fasten its cover.
6: Reconnect your dryer to the wall.
Last but not least, reattach the power by pushing your dry back against the wall. Turn on the dryer to see if you completed your work successfully. Check to see if the dryer is generating air through the exterior pipe.