A damaged duct system significantly reduces the energy efficiency of a heating and air conditioning system and that is where air conditioning flex duct repair becomes necessary. Ideally, all conditioned air should be routed directly from the furnace to the living space. In extreme cases, the energy lost due to torn or damaged ducts far outweighs the cost of repair materials.
HVAC Duct Types
Duct systems all serve the same function. Local building codes, on the other hand, frequently dictate the type of material used, the method of installation, and the location.
(Before we continue, remember to always wear appropriate personal protective equipment, such as a dust mask, eye protection, and gloves.)
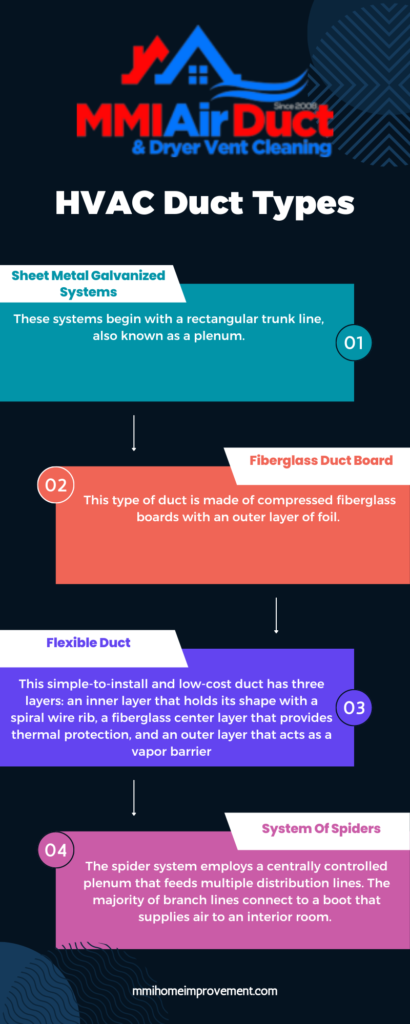
1. Sheet Metal Galvanized Systems:
These systems begin with a rectangular trunk line, also known as a plenum. The system then connects the individual floor penetrations with branch lines made of either round sheet metal or smaller rectangular ducts. S-shaped clips and cleats, also known as s-locks and drives, hold sheet metal duct pieces together; screws hold round sheet metal ducts together. Sheet metal duct is sealed with foil-backed duct tape or sheet metal compatible mastic by installers. To prevent condensation while using air conditioning, some applications, such as attics or enclosed systems, require insulation. To perform proper cleaning of this HVAC system, immediately contact us for Air Duct Dry Fogging Disinfection in Alpharetta.
2. Fiberglass Duct Board:
This type of duct is made of compressed fiberglass boards with an outer layer of foil. Each joint is held together by foil-backed duct tape, mesh, and duct sealing compound. Rigid fiberglass sheets are available in 1-, 1.5-, and 2-inch thicknesses from manufacturers.
3. Flexible Duct:
This simple-to-install and low-cost duct has three layers: an inner layer that holds its shape with a spiral wire rib, a fiberglass center layer that provides thermal protection, and an outer layer that acts as a vapor barrier. When installing a flex duct, the inner liner is slid over a sheet metal collar. Then he seals the inner liner with code-approved duct tape and secures it with a duct strap, which is a large zip tie or worm-gear clamp. Flex ducts are frequently supported every four feet by installers. This prevents connections from pulling away from the collar and limits sags.
4. System Of Spiders:
The spider system employs a centrally controlled plenum that feeds multiple distribution lines. The majority of branch lines connect to a boot that supplies air to an interior room. When the system requires more than one plenum, a large branch line supplies each additional plenum. People install this sheet metal duct system between the floor trusses. This type of HVAC system required extensive cleaning. Therefore, contact MMI Home Improvement for mold air duct cleaning in Alpharetta.
Use the below code to Embed this infographic
5. Ducting Made Of Sheet Metal
People normally install galvanized sheet metal ducts in northern homes. These ducts are located between the floor joists. The heat emitted by these ducts helps to warm the flooring. The sealant occasionally loses its grip, allowing heated air to escape.
Air Conditioning Flex Duct Repair Method
1. Loosen The Hanging Straps
Loosen the hanging straps or brackets on both sides of the repair area to expose the leaking seam. Lower the duct just enough to inspect the leaking joint. Normally, you may require an additional sealant for this type of leak. However, you need to seal the large gaps. If the large gap was caused by a missing or incorrectly installed S-lock, disassemble the joint and reconnect it correctly.
2. Repair The S-Lock:
To repair the S-lock, use a utility knife to cut the old mastic from the joint’s perimeter. Remove any screws that are holding the S-lock in place. Straighten the tabs on both drives and pull them out of the joint. Disconnect the joint. Tension normally prevents complete separation. Take out the old S-lock from the joint. Using a screwdriver, open the S-lock and slide it back into place. The flat metal on each duct end should fit into the S-lock gap, which the screwdriver has created. With a hammer, install the drives.
3. Seal The Duct Joint:
Apply a 1/8-inch thick layer of code-approved duct mastic to the joint, smearing it with a paintbrush. Mastic, designed specifically for galvanized sheet metal ducts, is available from manufacturers. Using a non-serrated knife, cut a fiberglass duct board.
Also Read: Importance Of Air Ventilation In The Kitchen Area
How To Perform Flex Duct Replacement
In some cases, such as a crushed duct or animal damage, replacing a section of flex duct makes more sense than repairing it. You can also reuse the duct collars and hangers from the original system in the new section. However, this is determined by the cost of materials and the location of the repair.
1. Remove The Faulty Flex:
Firstly, remove the old duct seal and cut the duct strap when disassembling a flex connection. Remove the insulation from the connector, revealing the inner liner. Remove the duct tape and duct strap that were holding the liner in place. Slide the damaged duct carefully off the collar. When removing a small section of the flex duct, technicians use a knife to cut through the duct. The blade cuts through all three layers at once, following the wire rib around the perimeter of the inner liner. After the knife has completed a full revolution, snip the wire rib with wire cutters.
2. Set Up A Splice Connector:
Secondly, fold the outer liner of the existing duct over the insulation and slide it between the insulation and inner liner, leaving about 4 inches of the liner exposed. Insert a splice collar into the duct’s inner liner and secure the connection with duct tape. Using a duct strap, secure the inner liner to the splice collar. Insert the collar into the duct until the rib of the collar rests flush against the insulation roll. Determine the length of the replacement section by using the following formula: Add two feet to the distance between the existing duct collars. Increase this calculation by one foot for each bend.
3. Cut The New Flex To The Desired Length:
Thirdly, extend the new flex duct to its full length. You need to roll the outer liner over the insulation. After that, tuck it between the insulation and the inner liner. Cut with a knife from the end of the insulation roll to the appropriate location on the duct. Wrap the outer liner around the insulation.
4. Replace The Flex:
Lastly, slide the inner liner over the splice collar, leaving about 1 inch exposed. Tape the connection shut with code-compliant duct tape. Wrap a duct strap around the inner liner and tighten it with the appropriate tool. But the outer liner and insulation of the new section against the existing ducts. Using a duct strap, secure it in place. Most importantly, use duct tape or code-approved mastic to seal the joints.
Conclusion:
In conclusion, we can say that it is an easy process to perform air conditioning flex duct repair. However, one should be very careful.