Warm, moist, lint-filled air from the dryer is sent outdoors, preventing a fire threat and shielding your home from the harm that damp air can do. Although it’s ideal for venting the dryer via the siding, brick siding or an upstairs dryer location may force you to use the roof instead. It’s crucial to prevent lint accumulation on the roof and condensation in the vent’s attic-crossing section. A dryer roof vent is necessary to keep out the elements while allowing hot air and lint to exit and blow away readily.
How to Install Dryer Vent on Roof
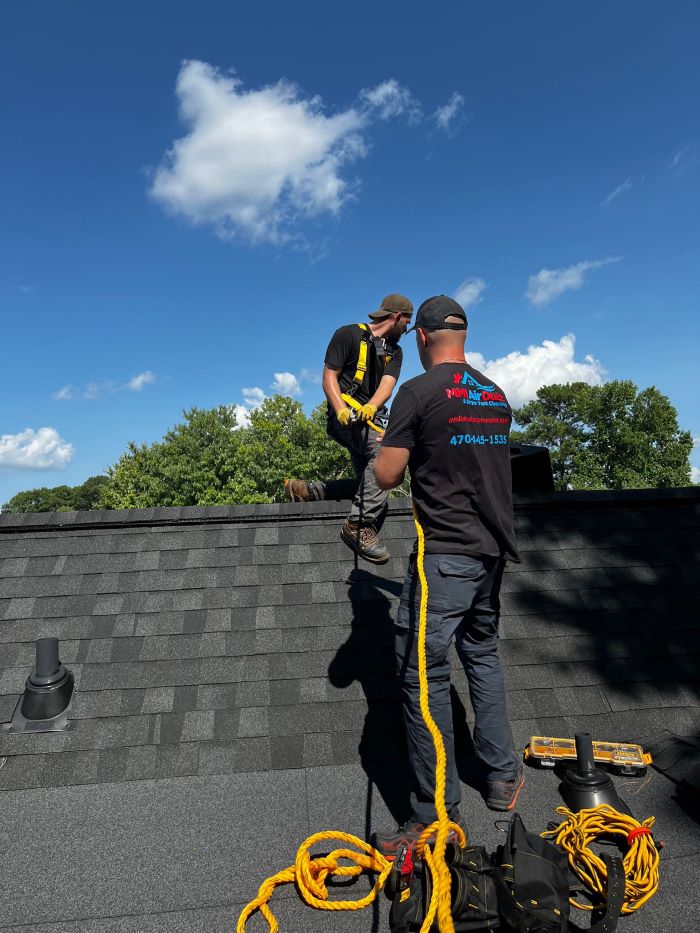
The dryer vent is one of the essential parts of your home. It transports hot air out of your house, which is crucial to your safety and the health of your dryer. If your dryer vent is clogged, it can lead to a dryer fire. Over time, the vent can get clogged by lint, dirt, and other debris, making it hard for your dryer to work properly. Replace a dryer vent on roof is tricky—that’s why it’s essential to know how to do it right. If you’re a homeowner planning a home improvement project, this guide will help you replace a dryer vent on roof so you can enjoy a cleaner, safer home. If you are looking for technicians for air vent replacement in GA and surrounding areas, contact us today!
Materials You'll Need
A dryer vent is an essential component of any home. Every year, thousands of fires are caused by clothing that isn’t properly dried in a dryer. That’s why you must ensure that your dryer vent is installed correctly. To make sure you have everything you need to get the job done, here’s a quick guide to the materials you’ll need to replace a dryer vent on roof.
- Pencil
- Drill
- 1/2″ drill bit
- Reciprocating saw
- Shingle tar
- 1″ roofing nails
- 4″ Metal duct elbow
- Drain clamp
- Fittings and 4-inch metal duct pipe
- Metal snips
- Insulate pipes
- Aluminum foil tape
Procedure:
Dryer vents are a necessary part of your home dryer. If your dryer leaks, it is most likely because of a clogged or damaged vent. Following this procedure, you can install dryer vents on your roof. Moreover, you can contact us for dryer vent installation and repair Cumming.
1. Select the Best Location
Pick a spot for the vent aperture 25 feet or less from the dryer. The vent pipe should be as short as possible. However, most dryers can only handle pipes up to 25 feet in length. If the vent line needs to be bent 90 degrees, move the opening 5 feet closer; if it needs to be turned 45 degrees, move the opening 2 1/2 feet closer.
2. Use a Pencil to Trace the Opening
Working from the attic, trace with a pencil the opening of the lower portion of a rooftop dryer vent on the interior of the roof. Drill a 1/2-inch hole in the outline, put the reciprocating saw blade through it, then use the saw to cut around the shape.
3. Remove the Shingles
Cut off any shingles still covering the hole by scaling the roof. Then cover the hole’s surroundings with roofing tar. Pull up the shingles covering the portion of the hole that is closer to the roof’s peak. The vent flashing should be worked under the raised shingles before letting them fall over the flashing. Insert the vent pipe’s associated pipe through the opening. Allow the flashing’s lower portion to rest on the shingles.
4. Install the Vent Flashing
Use 1-inch roofing nails to fasten the vent flashing to the roof, and then add extra tar to the edges. Put the vent cap in place.
5. Attach the Duct Elbow
Attach a 4-inch metal duct elbow to the dryer’s back vent. Ask the Builder to advise you to clamp it using a duct clamp. The elbow should face the roof vent when bending.
6. Join the Vent to the Dryer
Experts suggest using a 4-inch metal duct pipe to connect the dryer to the roof vent. As needed, cut the pipe with tin snips and join it with the required fittings. To run the duct through the attic, you might need to make a hole in the ceiling above the dryer. If so, draw the cross-section of a piece of pipe on the roof and use a reciprocating saw to cut a hole in it.
Must Read: How To Make An Air Vent Deflector
7. Insulate the Pipe
Wrap pipe insulation around the portion of the dryer vent pipe that passes through the attic to insulate it. Then use metal foil tape to secure the insulation. It is particularly crucial if you reside in a cold region because freezing temperatures will cause the heated air in the duct to condense. Lint can accumulate on the sides of pipes due to condensation and eventually obstruct them.
8. Strengthen Joints
Metal foil tape should be used to reinforce all duct joints, particularly the one between the duct and the vent.
Tip
If you have the space, run a short pipe segment horizontally next to the vent, sloping slightly in its direction. By doing this, moisture around the vent opening is kept from dripping back onto the dryer. Metal foil tape is less sensitive to high temperatures than standard duct tape and has a longer lifespan. Wear a pair of leather gloves when handling or cutting metal duct pipes because the edges are sharp.
It’s crucial to prevent lint accumulation on the roof and condensation in the vent’s attic-crossing section. To make sure you have everything you need to get the job done, we have provided a quick guide on how to install dryer vents on a roof in this post.
Also Read: How To Fix If HVAC Fan Not Working