Fresh air dryer vent cleaning is a process that requires you to remove soot, dust, and debris from your dryer vents. The purpose is to remove soot, dust, and debris so that your dryer can work faster and more efficiently.
The dirty dryer vent is one of the greatest sources of home fires. Additionally, it will waste your time, effort, and money, even if clogged dryer ducts don’t immediately result in property damage.
The performance of a dryer connected to filthy, dusty, or lint-filled vents will also be poor. Check your ducting if your dryer is used to dry wet loads in one cycle or less but suddenly requires two or even three. Most likely, the problem is not your dryer; it is dirty venting. Typically, the dryer vent enters the laundry room wall and leaves through an external wall to the outside.
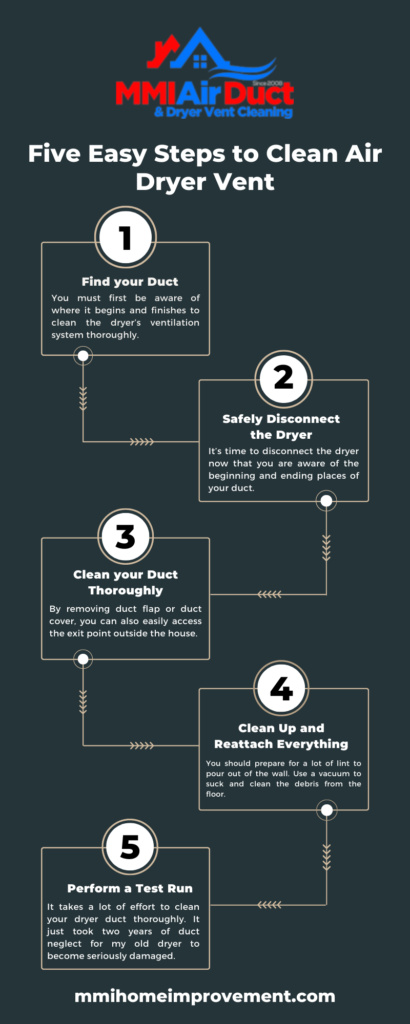
How To Clean Air Dryer Vent In Five Easy Steps
Air dryer vent are one of the greatest inventions of the past decade. They are quick and convenient, but they can be a disaster if you don’t clean them regularly. Dryer vents are an important part of your household. They help the moisture in your clothes dry faster so that your clothes will be ready for you to wear within a few hours.
Contact us for Commercial air duct and dryer vent cleaning in Atlanta.
However, you may need to keep your dryers up to date and clean them regularly. Here’s a step-by-step guide on how to clean a dryer vent in less than an hour, using affordable tools. Follow these steps and you will be sure to never have a fire outbreak from a clogged air dryer vent.
Step 01: Find Your Duct
You must first be aware of where it begins and finishes to clean the dryer’s ventilation system thoroughly. Most dryer machines have a little 4-inch diameter vent located at the back. This exhaust is connected to special ductwork inside the wall through an aluminum elbow or other pipe. These metal pipes carry hot air, which eventually exits via a hole in one of your home’s outside walls.
The dryer exhaust is connected to a duct in a specific configuration at the base of a wall in my laundry room. It originates in the basement and travels several feet to the right of my front door to an exit vent at ground level. A plastic cover with louvers covers the entire thing. It opens to let hot air out but remains closed otherwise to keep out animals. The vent’s other end ought to be outside.
Step 02: Safely Disconnect The Dryer
It’s time to disconnect the dryer now that you are aware of the beginning and ending places of your duct. If you have an electric dryer, the job is straightforward. The machine’s power cord must first be unplugged from the wall outlet. The dryer vent pipe should then have any metal tape or clamps holding it to the dryer’s exhaust removed. If that is simpler, you might only need to remove the plastic holding the vent to the duct within the wall.
The exhaust vent for your dryer can be found on the back of the device. Remove the vent pipe from the wall duct by gently pulling it. You should have no trouble pushing the unit aside if your dryer is electric. It will create an additional workspace.
Natural gas-powered dryer owners need to exercise additional caution. However, if you need to move the dryer, be careful not to disturb the gas line too much. The fuel hookup typically consists of a flexible steel pipe, similar to gas ranges. Although the hose needs to be secured firmly, it’s wiser to be safe than sorry. Gas leaks are a severe and hazardous issue. Call in a pro if you’re ever doubtful of something.
Find out more about how to Replace A Dryer Vent On Roof.
Step 03: Clean Your Duct Thoroughly
You should now be able to easily access the dryer duct opening on the laundry room wall. By removing its duct flap or duct cover, you can also easily access the exit point outside the house. Purchase a specialized dryer vent cleaning kit next. This one costs $19 at any Home Depot. It comprises six flexible pieces, which are 2 feet long, and a lint brush. These components are put together to create a 12-foot-long rod.
In my case, I bought a second device, doubling its reach and giving me a spare brush head to keep in a safe place. You may also insert the end of the clever device into regular power drill chucks. Thanks to your arsenal, you have all the equipment and are able to spin the brush quickly and powerfully.
Use the below code to Embed this Infographic
You need to insert the rod’s brush end into your duct. Since the house’s tallest point is outdoors, it is wise to enter from there. The concept is to clear stuck debris by using gravity as a tool. It’s also simpler to gather lint from my mulch-covered flower bed than it is off the floor of my laundry room.
Push the brush down the duct as far as you can while rotating the rod counterclockwise to prevent unscrewing its segments. You’ll have enough length to reach the opposite end of the duct. Remember that the Procedure may require several attempts depending on how many bends and turns your ducting may have.
Step 04: Clean Up And Reattach Everything
You should prepare for a lot of lint to pour out of the wall. Use a vacuum to suck and clean the debris from the floor. To get the vacuum back in working order, clean it twice. In retrospect, we advise utilizing a straightforward broom and dustpan.
Reposition your dryer with caution, then connect it. Put everything back in its original location once it has been cleaned up, with one exception. Get rid of the soft foil-style vent that connects your dryer to the wall duct. There is a known fire risk with these hoses. I manually installed a pair of 90-degree aluminum elbows in place of the first semi-rigid venting. They are robust and adjustable. Moreover, they also offer the optimum ventilation possible.
Step 05: Perform A Test Run
It takes a lot of effort to clean your dryer duct thoroughly. It just took two years of duct neglect for my old dryer to become seriously damaged. However, a quick test run showed the appliance had fully recovered its power after cleaning. Not only would you save having to purchase an expensive new unit, but you would also eliminate the possibility of a terrifying dryer fire. After the trial, you would notice increased airflow through your vents.